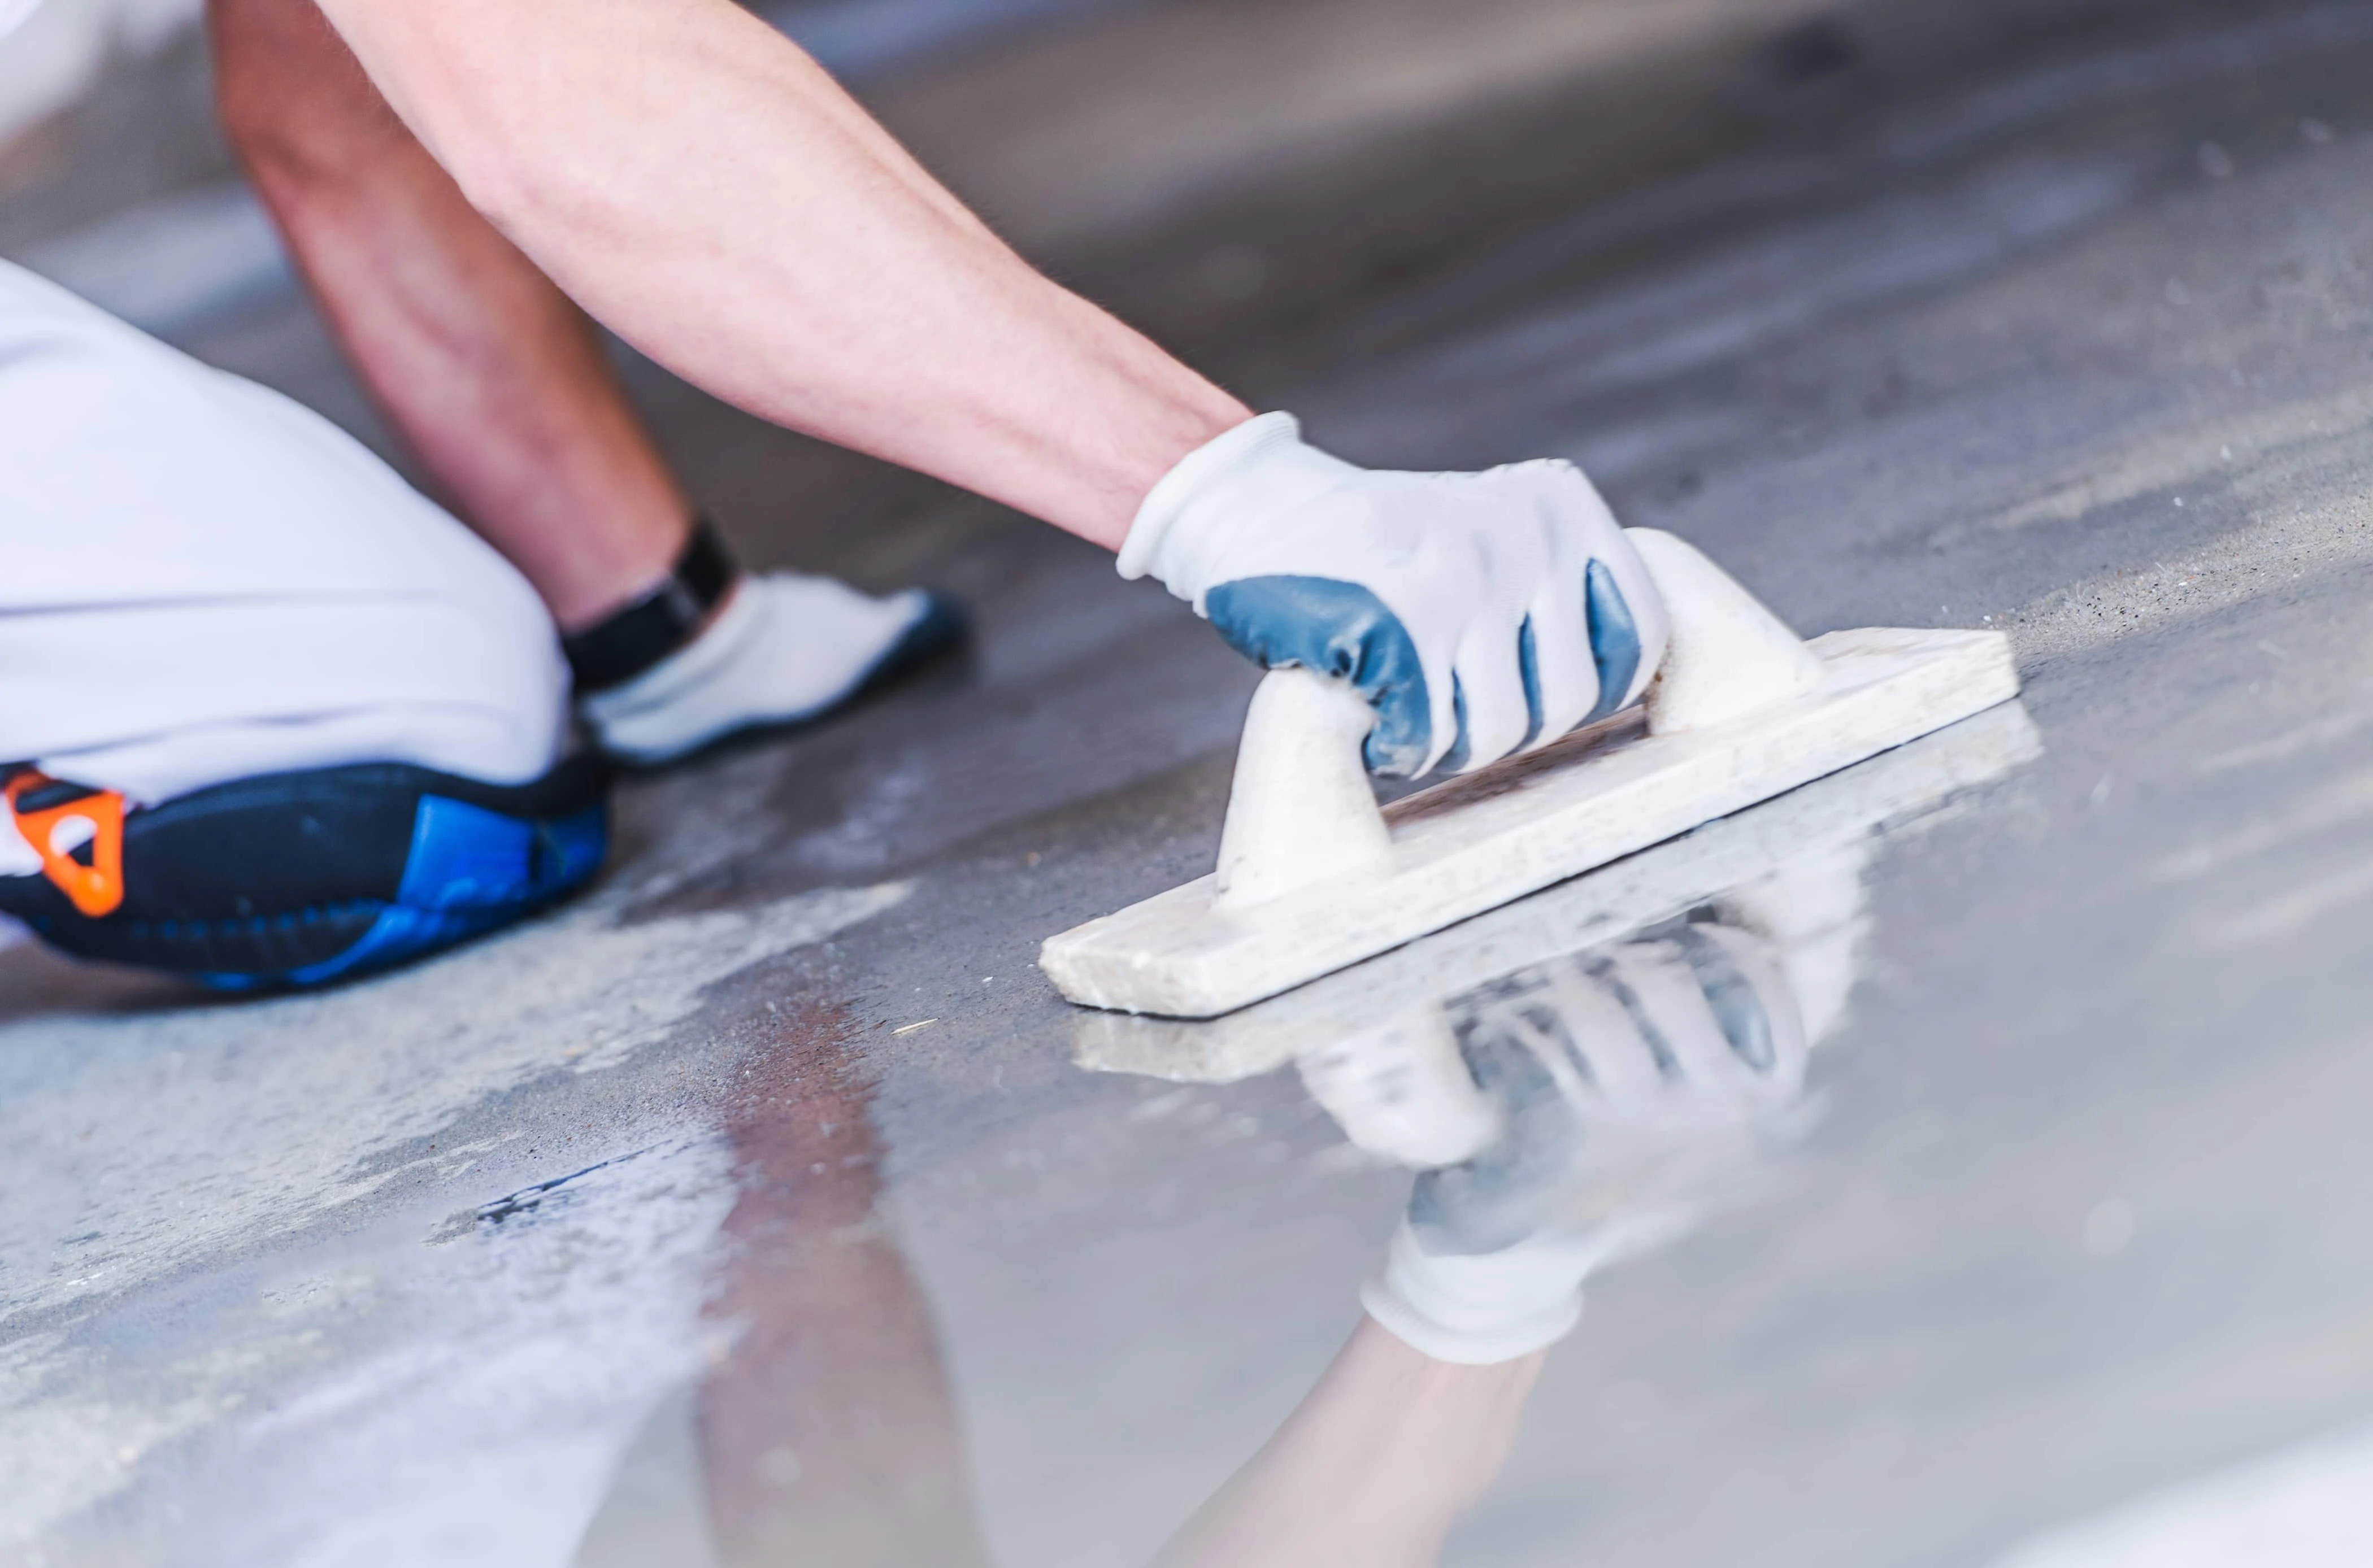
A concrete surface is incomplete without a sealant.
After all, there’s nothing better to protect it from the wear-and-tear of regular use. A sealed concrete surface is easier to clean and maintain.
If you’re a DIY lover, you’d be glad to know that concrete sealing doesn’t always require hiring professionals. With the right process, you can achieve high-quality results. So we’ve compiled this short guide to help you with just that.
Let’s start, then!
Complete Guide To Concrete Sealing
How To Apply The Concrete Sealer?
Before anything else, it only makes sense to walk you through the correct application process. The first step is to ensure proper surface preparation, without which even the most expensive sealers will fail to protect the concrete underneath. For this, you’d want to begin by thoroughly cleaning the surface to get rid of any oil, grease, stain or dirt.
If you’re using a different sealer brand over the existing one, it’s better to remove the latter before the new application. You may also use two coats for enhanced protection, especially if the surface is more porous than usual.
In that case, apply the second coat in the opposite or perpendicular direction of the first coat. And wait till the first coat has dried completely, which can take anywhere between 2 and 4 hours.
Some manufacturers may also recommend using an etching solution to “open up” the concrete so that the sealant sticks more effectively.
In case you’re sealing a concrete countertop to prevent it from discolouration resulting from acidic spilling (like vinegar), we’d suggest adding a protective layer of food wax, like carnauba. This safe barrier will facilitate using the sealed concrete surface for chopping or kneading.
Whatever be the case, always refer to the manufacturer’s instructions for accurate application and know what type of concrete you are working with. For instance, some solutions come in a ready-to-use formula, thereby doing away with the need for saturation.
What Is The Right Tool For Application?
Generally, most sealants should be spread evenly on the surface but shouldn’t pool or have thick coats in any area. Again, more porous surfaces will require more sealant. Furthermore, the pack should state the right application tool, which is mostly a brush, roller, or garden sprayer, depending on the water or solvent-based formula.
On that note, we should mention that the average coverage rate per gallon of sealant is around 250 to 300 square feet. But it may vary according to the specific surface.
When Should I Seal The Concrete?
Aside from the quality and application technique of the sealant, the time of application also plays a crucial role in enhancing its effectiveness. Ideally, you should wait for at least 28 to 30 days to allow the concrete to cure completely. Beyond that, most sealants should be applied under dry conditions, with a temperature between 50 and 90 degrees Fahrenheit, which is approximately 10 to 32 degrees celsius.
If you’re sealing an outdoor concrete surface, keep an eye on the weather forecast to avoid working in the rain or snow. Keep in mind that the sealant may take as many as three days to dry completely, so schedule the task accordingly.
Some More Tips


1. Clean The Surface Multiple Times
As we have already mentioned before, the effectiveness of a sealer will depend largely on the cleanliness of the surface. Hence, cleaning it multiple times is the best way to ensure long-lasting coverage.
Start by sweeping or vacuuming the floor to get rid of loose dust and debris. Then, follow it with a cleanser based on the type of stain (like degreaser for grease-based stains). If needed, use a scraper, putty knife, or stiff brush to remove any accumulated mastic.
After the stains are removed, mop with a mix of floor cleaner and water and wait 24 hours before applying the sealant.
2. Water Test For Existing Sealant
If you’re not sure about the surface having the previous sealant, here’s a quick DIY test; just pour some water on the concrete. If you notice the water forming a puddle, it’s because of the existing sealant. If the water soaks into the concrete, it’s unsealed.
Let’s Get Sealing!
It’s pretty evident that the perfect sealant application requires ample time and patience. So, take on the job only when you’re not in a rush!
But if the surface is too old or damaged, it may be a good option to seek professional help. Otherwise, we hope our guide has simplified the process for you.
Now that it’s time for us to take your leave, here’s one more pro-tip: wear adequate protective accessories and follow the manufacturer’s instructions carefully.
Remember, if you need any advice, you can always contact our expert team. We will see you another day. Till then, bye!
Published Date : April, 16 2021


