Are you bothered by the chipped surfaces and cracks on the driveway, the house floors or the patio? We’ve got a fix!
We understand why you’re ignoring the cracking floors and pretending the driveway looks just fine. After all, repairing concrete is a mammoth task that’ll bring hefty repair bills along.
But why not do it yourself? Before rolling your eyes, hear us out! You don’t need to be an expert to lay a slab of concrete. What you do need are the right tools, some determination and a friend’s help. So, just put on your construction worker hat (or anything close to a hard hat), roll up your sleeves and read our guide.
How To Lay A Concrete Slab


The unrivalled strength and durability of concrete make it a favourite among homeowners everywhere. However, concreting can be a daunting task, especially for first-timers. So we’ve got this step-by-step guide to assist you in laying a slab of concrete.
Step 1: Ground Preparation
Preparing the ground that you’re planning to pour the concrete on is the first step in laying a solid block. Clear the area by removing any leaves, rocks, twigs, dust or debris. If there are chips of old concrete, remove them as well.
Remember, you need to work on a clean slate. After cleaning, use string lines and wooden pegs to mark the area that needs concreting.
Step 2: Preparation Of The Subbase
The second step involves the removal of the topsoil to create a solid subbase. This is the foundation on which the concrete will rest and should be at least 100mm thick. Usually, crushed stone or coarse aggregate makes a fine subbase. The bed is then levelled and compacted with the use of a hand temper.
Below the subbase, we’ve got the sub-grade. It is the original soil on which concreting is done. It is the most crucial layer, and without it, the slabs will not have the requisite support. To ensure no damage to the subgrade or displacement of the soil, we add the subbase.
Step 3: Creating A Form
Secure the site where you plan to pour the concrete with a wooden formwork of the desired shape and size. Do remember to leave a slight slope for drainage and make use of pegs or screws to tighten the form. Once the concrete has hardened, remove this frame.


Step 4: Mixing The Concrete
Now, we come to the fourth step, which is the mixing of the concrete. Once you have chosen your type of concrete, use an online calculator to determine the volume of concrete you need for the task. This will depend on the shape and dimensions of the area you’re working on. Then, mix the cement, sand and gravel thoroughly in the ratio of 1:2:4.
Remember to add a sufficient quantity of water to bind the dry mixture. However, carefully measure the water because a lower quantity can make the concrete crack, whereas excess water will weaken the mixture by making it overly spongy.
While mixing the water in, use a shovel to turn the mix over from time to time. This way, you’ll get a smooth mixture.
Step 5: Pouring The Concrete
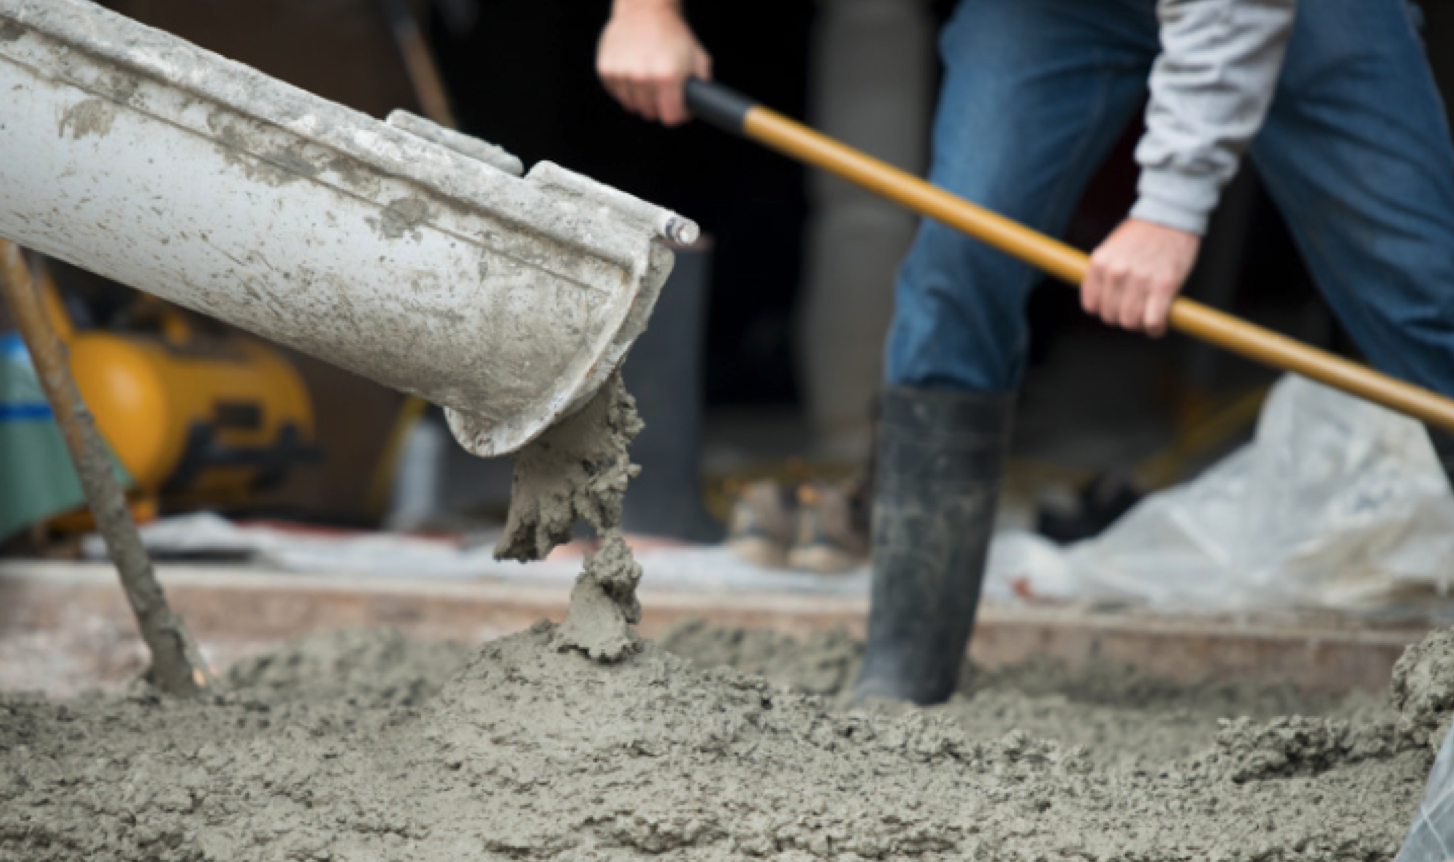
The next step is the most important one. Give the mix half an hour to settle down, after which you should pour it into the wooden mould. Make use of a shovel to disperse it evenly, especially towards the edges.
After that, smooth out the surface using a wooden plank. We call this screeding, and it is an essential step to help the concrete achieve a more professional finish.
Step 6: Compaction
The next step involves compacting the concrete. In this method, the entrapped air is expelled and the concreting matter is packed more closely together. This process significantly increases its density and strength.
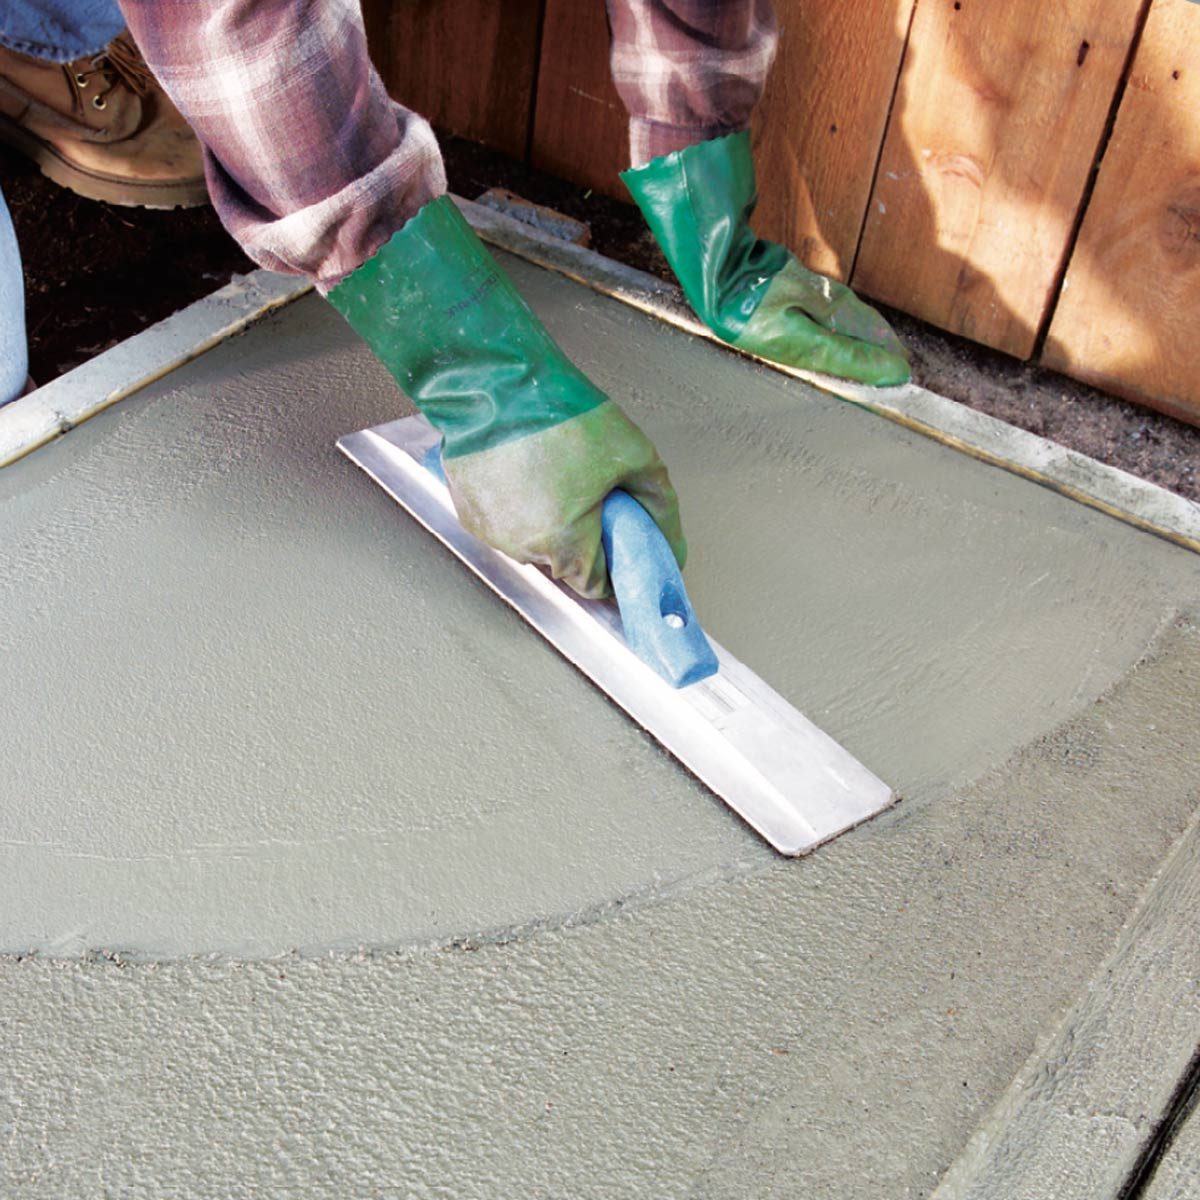
To achieve this, make use of a bull float to press down and smoothen the mix. Repeat this step three or four times. This helps the gravel-free concrete to rise to the top and lets the water bleed out.
Complete elimination of these airy pockets is of the utmost importance because otherwise, they’ll significantly reduce the strength of the concrete. Besides, it also results in honeycombing. If the mix hardens, use a steel float to get a smooth surface.
Once all the water is expelled, use an edging tool around the edges of the slab. By doing this, you get smooth and softer edges.
Step 7: Introducing Control Joints
Concrete is prone to cracking and shrinkage, so you need to make minor adjustments for that. A trowel helps in this process and intentional cracks, known as grooves, are introduced at 6-feet intervals. This prevents uncontrolled cracking.
However, be careful not to make the grooves too deep because that’ll block water from running off the surface and stagnant water reduces concrete strength.
Step 8: Introduction of Traction
After making the grooves, it is time to make the top smooth again. You can do this through a hand float.
We recommend creating sufficient traction to make the surface slip-resistant. This is especially important if the ground is going to bear heavy foot traffic. The most common way of creating traction is through a brooming tool or a soft brush.


Just move the broom over the wet concrete surface, creating textured lines. You can get various attractive finishes using a specialized broom tool – chevron, wavy lines, or scallops – pick whatever looks best.
Step 9: Curing The Concrete
The last step is curing the concrete surface. Proper curing ensures maximum efficiency and strength. So, do not neglect this step and be vigilant.
Concrete needs roughly 28 days to cure completely. You should keep it damp for the first 7 days to prevent the top from cracking or shrinking. The temperature and moisture should also be regulated so that the surface has enough hydration and its structural integrity is uncompromised.
There are several benefits of curing the surface after concreting. First and foremost, it provides sufficient hydration by retaining moisture and improves strength. Besides, proper curing adds to the durability of the concrete and makes it watertight and abrasion-resistant.
Today, there are two efficient and practical curing methods that have become very popular.
A. Curing Through Plastic
In this method, we cover the exposed surface with a thick plastic sheet to trap moisture inside. It also keeps the surface clean, preventing the accumulation of dust and debris on the new concrete.
B. Spray Compound
Another popular method is spraying a curing compound on the surface once it hardens slightly. This compoundforms an impervious layer that traps moisture and heat. Thus, it doesn’t let the concrete crack.
Essential Tools For Laying Concrete
Now that we’ve explained the nine steps to laying a concrete block, we’ll go over some essential tools that you need for the process. A construction project is only as good as the tools you use for it. Without the right tools, you will compromise the efficiency of the task at hand. So, here are a few tools necessary for concreting.
1. Safety Gear


Concreting is not just a demanding job but also dangerous. Therefore, having the proper protective gear is a must to keep you safe. Contractor-grade gloves protect your hands from nicks and cuts, as well as chemicals in the concrete that can damage your skin.
Besides, since cement is a caustic material, adequate eye protection will keep your eyes safe from burns and irritants.
Not just that, while operating power tools, we recommend wearing breathing and hearing protection so as not to damage your hearing and prevent dust and cement particles from getting into your respiratory system.
2. Work Tools
Tools needed for concreting are diverse. For example, you can use shovels for levelling and spreading the concrete mixture. Similarly, a screed is necessary to smooth out the wet surface after you have poured the mixture.
After screeding, you’d still have some gaps and airy pockets that need to be expelled, and for that, you will need to use a bull float. We also recommend groove cutters, a portable mixer, concrete saws, measurement tapes, string lines to name a few.
Final Words
With that, we come to the end of this guide on laying a concrete slab. If you are concreting for the first time, we hope our step-by-step explanation has simplified the process for you.
However, we’d recommend getting a pair of helping hands as the process is quite intensive and time-consuming. One misstep, and you’ll have to begin from scratch. Nonetheless, it is a simple task, and the results will be fantastic if you’re patient and follow the instructions carefully.
Even after you’ve laid the concrete, be alert and look for signs of immediate damage. Also, make sure that the surface is receiving enough moisture. After all, you didn’t work that hard to let some easily avoidable errors take it all down the drain.
Now, we’ll take our leave, and you can start preparing for the project right away.
Until next time, take care!
Published Date : March, 24 2021


