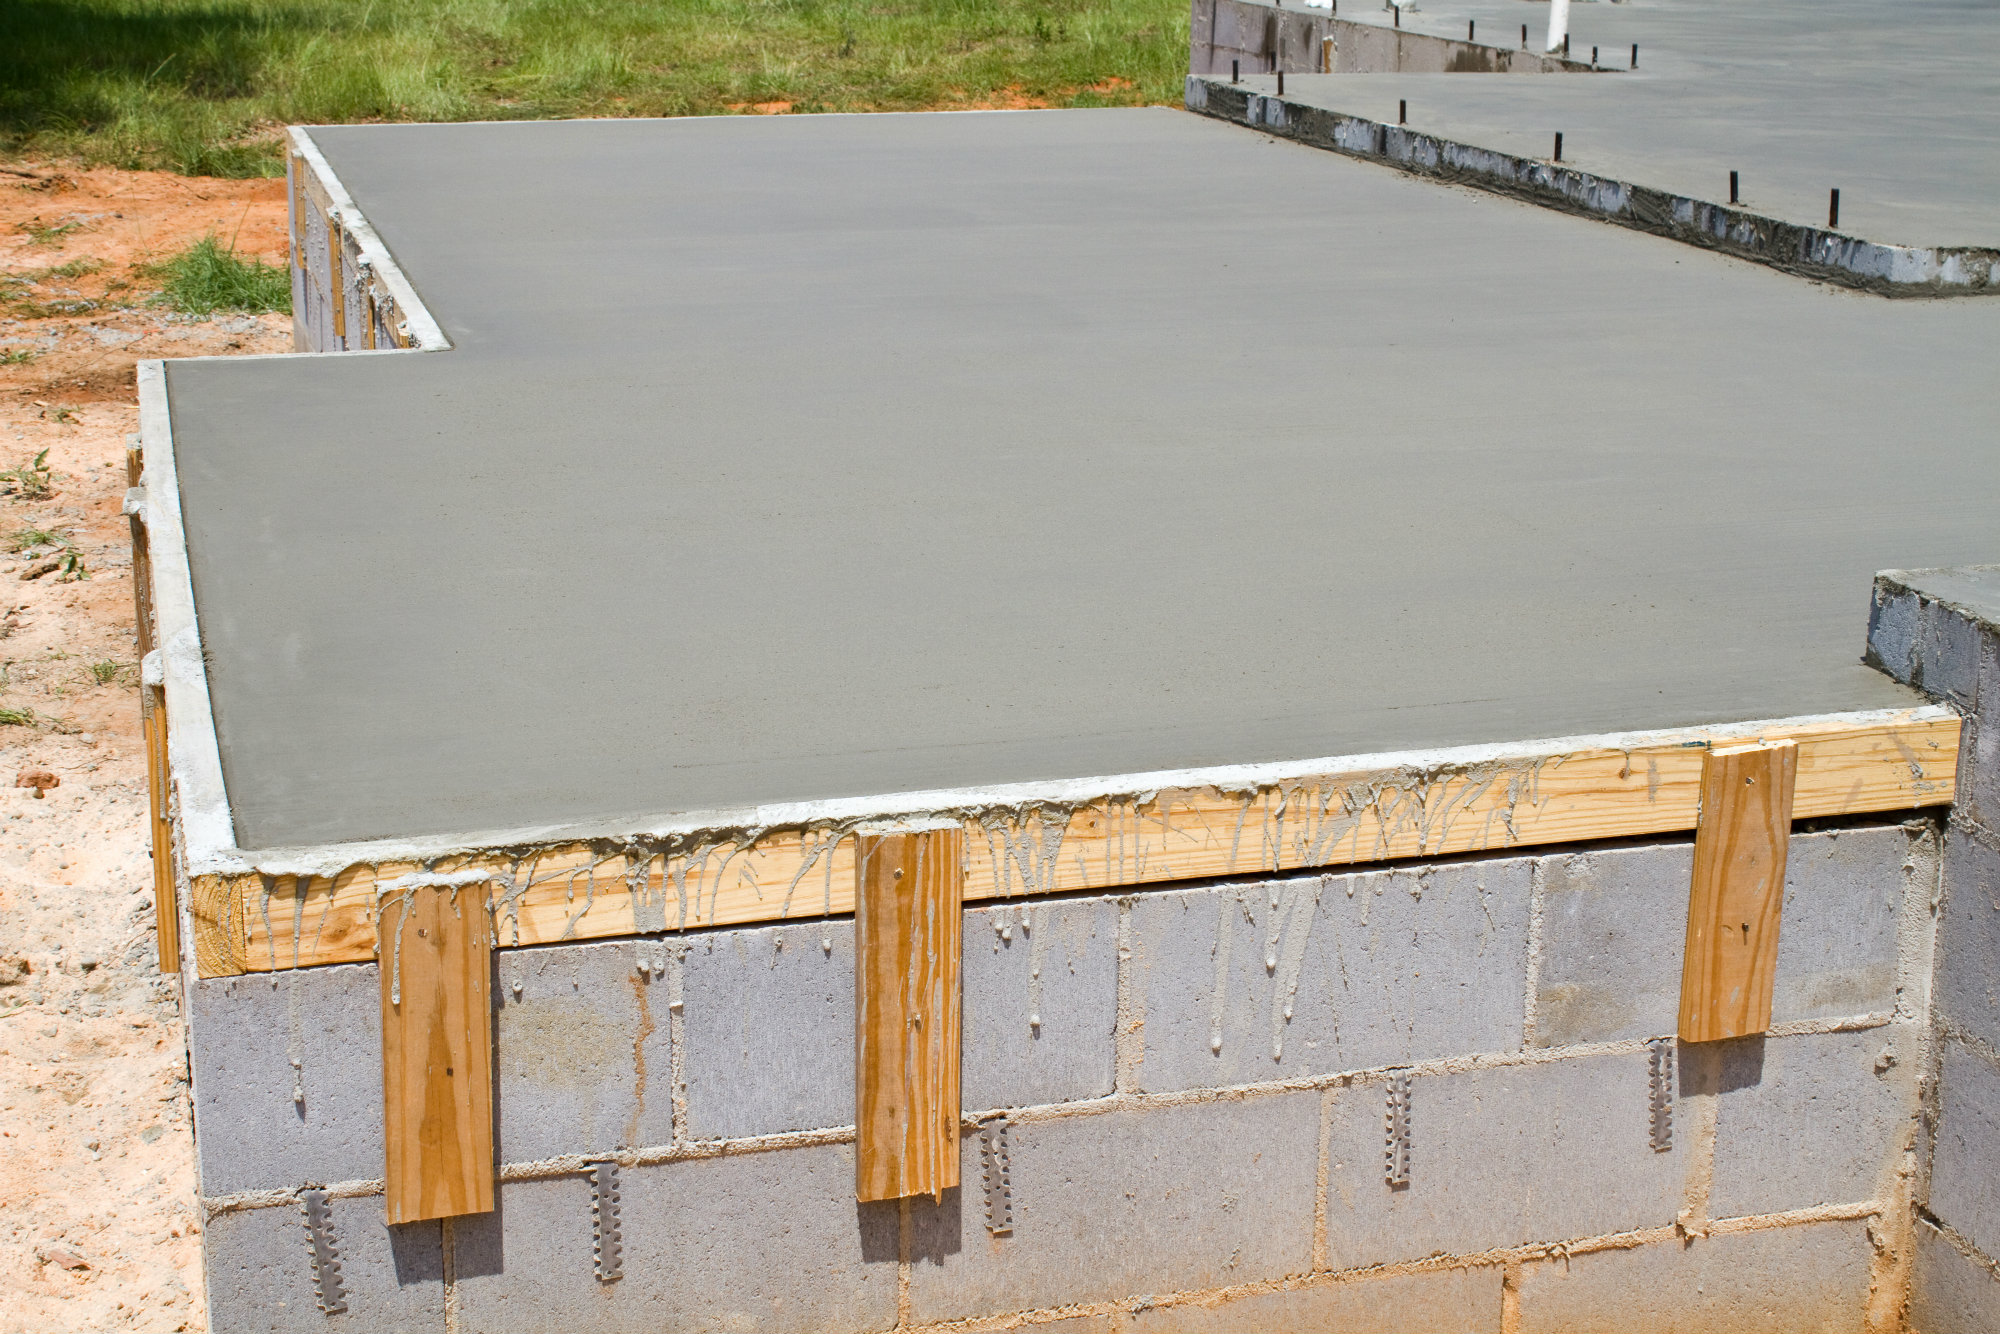
If you’re patting yourself on the back after successfully laying down a perfect slab of concrete, we’ve got some news!
Without levelling, the surface becomes prone to shrinkage and cracking. While you might be tempted to take off the work hat, there’s a lot more to do. After all, you don’t want all the hard work going down the drain because of some minor errors.
Besides, levelling also helps achieve a flawless and highly durable surface that’ll last for years to come.
Although this might seem like a straightforward process, there are several steps to it. To simplify things, we’ve got a complete guide on smoothing concrete surfaces.
So, without any further delay, let’s begin.
How To Get A Smooth Concrete Surface?
Given here is a step-by-step guide to getting a smooth concrete surface. Let’s take a look at the deets!


Step 1: Level The Concrete
Right off the bat, you have to level the surface!
For this, two tools come in handy – a screed board and a darby. A screed board is a piece of lumber, not more than 2×4, that you have to place across the forms containing the freshly laid concrete.
With a back and forth sawing motion, push the screed board across the surface to level the mixture and fill the gaps.
A darby further smoothens the mix by pushing down the gravel-filled aggregate. This helps the sand and cement rise to the top. Remember to move it over the surface twice in an overlapping arc-like pattern. However, do not overdo this, or else you might end up with a weakened slab.
Step 2: Let The Water Bleed Off
The next step is waiting. That’s right! You have to wait for the excess water from the concrete mix to rise to the top and bleed out. Although it evaporates on its own, the rate depends on the water-to-cement ratio and type of concrete mix.
This is a crucial step as it lends durability to the concrete surface and prevents scaling or delamination. Once this is done, we move on to edging and grooving.
Step 3: Edge And Groove The Concrete
With the help of an edging tool, work along the form to create even corners. The primary purpose of doing this is to give the surface a neat appearance. Use long strokes and move the edger in a back-and-forth motion.
By now, you’ll have a smooth surface before you. There are a few additional steps that you must take to retain this smoothness.
The most important one is making grooves or control joints that prevent fracturing and shrinkage of concrete. In this process, you introduce intentional cracks in places where no one can see them. This prevents unrestrained cracking later on.
For smaller slabs, grooves need to be introduced at 4-ft intervals and for larger areas like driveways, make them at 12-ft intervals.
Step 4: Floating
After introducing the grooves, you have to even out the surface again. Usually, a magnesium hand float will suffice. However, if your concreted area is more extensive, then make use of a bull float.
Run the tool across the surface in large arcs. This helps in compaction and prepares the concrete for trowelling.
Step 5: Trowelling
Now comes the tricky step. While floating gives you a smooth surface, trowelling removes all imperfections and leaves you with a flawless and abrasion-resistant concrete top.
With the help of a steel trowel, make broad, overlapping arcs over the slightly hardened concrete surface. Usually, trowelling is only done on indoor concrete.
Step 6: Create A Non-Slip Surface
If you need a rougher surface to bear heavy foot traffic, skip trowelling and opt for a broom finish.
To introduce sufficient traction, drag a broom across the moderately hardened concrete after floating. You can pick a specialised broom tool with a chevron finish or scallops if you like decorative elements.
Step 7: Let It Cure
Phew! You’ll now have a flawless concrete surface. However, give it some time to cure for it to gain maximum strength.
Cover the top with a plastic sheet or spray a curing compound that traps the moisture. Do this for a week, and you’ll have a smooth, durable surface by the end of it.
Smoothing Your Concrete Surface
With that, we come to the end of this guide on getting a smooth concrete slab. We hope our detailed explanation has made the process simpler for you.
However, we’d recommend staying patient and not rushing through the steps. Otherwise, you might end up with clumps or a weak, cracked surface. Remember that it’s a simple task, as long as you have the right tools and you exercise due diligence.
Now, we’ll take our leave, but before we go, here’s a quick tip. Let the concrete cure for a sufficient amount of time before exposing it to heavy foot traffic. Doing this will give it excellent durability and strength.
Until next time, take care!
Published Date : April, 16 2021


