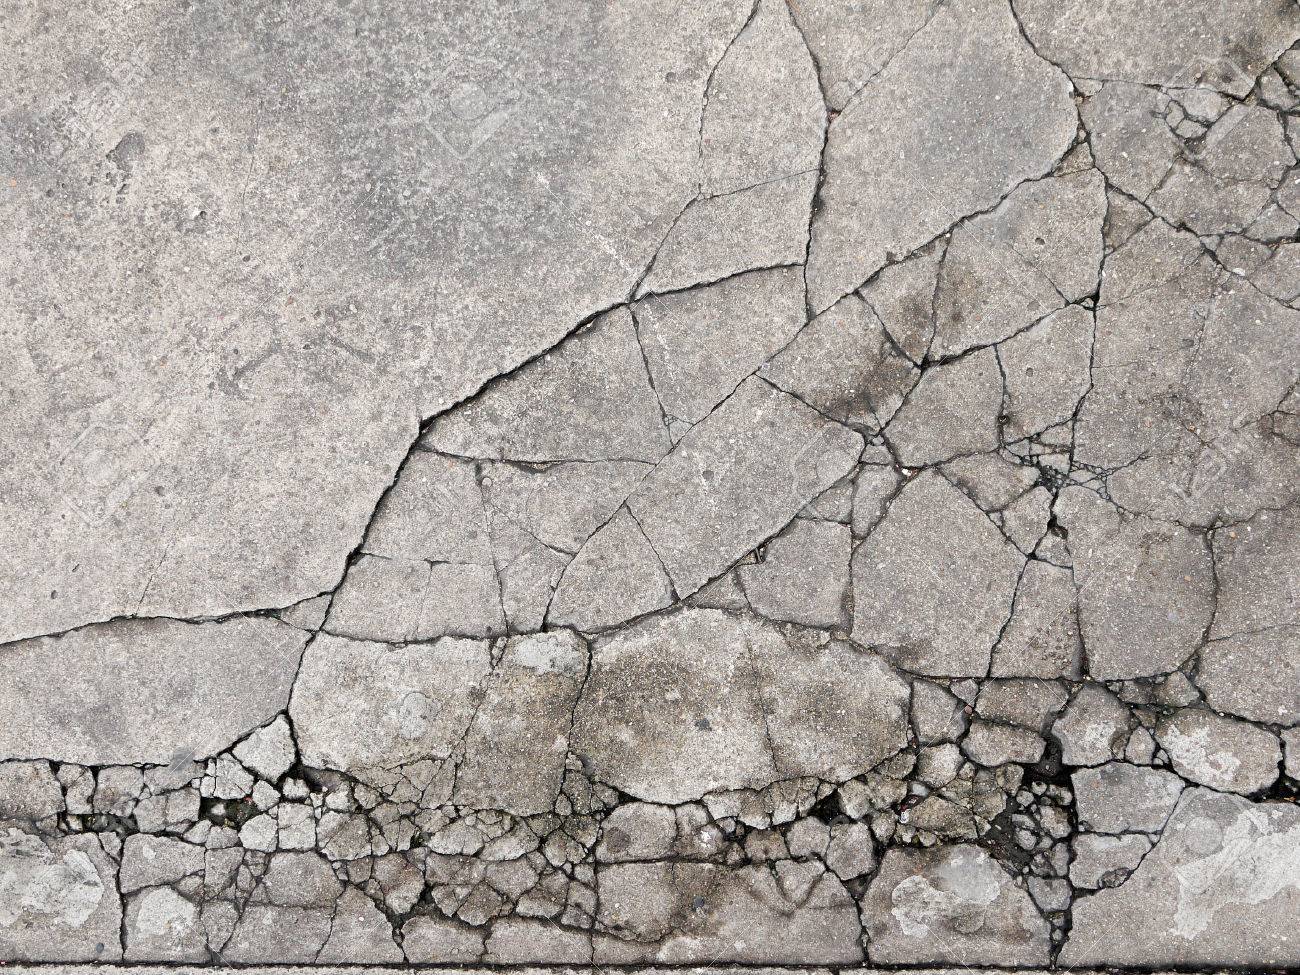
Is your concrete sidewalk or driveway crumbling?
Then it’s time you covered those dents and cracks by pouring a coat of concrete over the surface – a technique known as concrete resurfacing. It will help you fix the damaged indoor floor or outdoor surface in no time.
What’s more, you’ll get a uniform and smooth finish with added texture and colour, making the walkway look new and aesthetically appealing. However, most of us don’t really know how to go about the resurfacing process, and we end up hiring a professional service company for completing the project.
Not saying that’s wrong, but why spend extra when it can be done the DIY way. That’s why we’ve curated this informative guide on how to resurface concrete. We’ll begin by explaining its basic concept and then move on to the steps that need to be followed.
So, without further delay, let’s dive in.
Resurfacing Worn-Out Concrete
What Is Concrete Resurfacing?
Before we head to the step-by-step guide on how to resurface worn-out concrete, it makes sense to understand the concept. That said, concrete resurfacing is an easy and cost-effective way to transform old and damaged concrete, making it look new all over again.
A coat of concrete has to be applied to the surface, thereby adding texture and colour. This type of refinishing is perfect for driveways, walkways and indoor floors.
Should You Replace Or Resurface Concrete?
You could choose to replace the worn-out concrete walkway or sidewalk to improve its overall appeal. But it’s better to opt for a repair option like resurfacing as it saves both money and resources while eliminating the problems related to the disposal of concrete.
Here are some of the benefits of resurfacing old and worn concrete:
- Fixes cracks and divots
- Upgrades outdated finishes
- Helps hide surface imperfections
- Addresses discolouration
- Ensures resilience to wear and tear in the future
- Provides a new and smooth finish
Tools Needed To Resurface Concrete
Make sure you gather the required supplies before beginning the resurfacing project. Here is a list of the tools you’ll need to resurface concrete.
- Gas-powered pressure washer
- A 5-gallon bucket for mixing
- Nylon-bristle broom
- Trowel for finishing
How To Resurface Concrete?
Follow the steps highlighted below to resurface concrete perfectly.


1. Cleaning
Start by preparing the surface for resurfacing. You’ll need a gas-powered pressure washer capable of reaching at least 3,500 psi. Just remember to wear protective glasses and heavy boots before fitting the wand with a 25-degree fan tip and holding it around 6 inches away from the surface to begin cleaning.
Use slow and even sweeps to wash away any mildew, dirt, or debris on the concrete.
2. Patch Work
Next, take the opportunity whilst the concrete is damp to mix sufficient resurfacer for filling in any cracks or divots. Take a 5-gallon bucket, and mix one part of water with seven parts of the resurfacer.
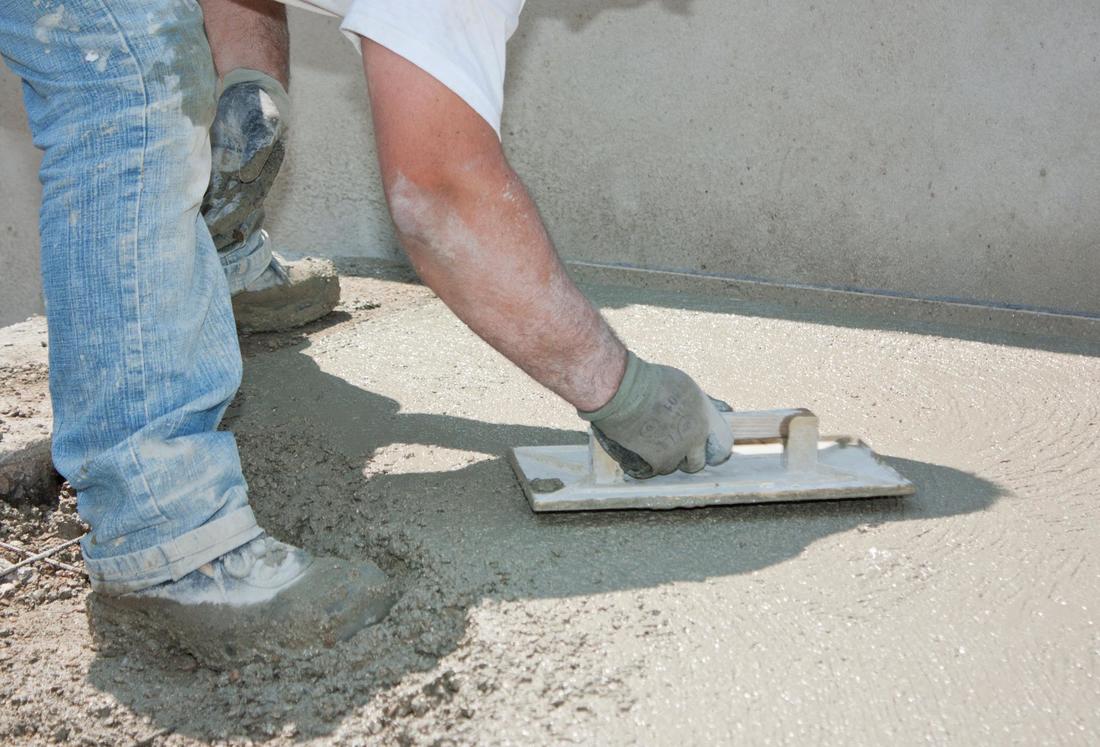
You can use a paddle mixer with an attached corded drill to blend the mixture. Then, start filling the small gaps and spaces with the resurfacer and smoothen the area out using a finish trowel. Wait for about 2-5 hours and progress with the next step only when you can stand on the patched concrete without indenting the surface.
3. Spreading The Resurfacer
Once you’ve waited for the required duration, use peel and stick foam weatherstripping to fill all the walkway joints. You can dampen the concrete with water if the need be.
Remember, you can work with the resurfacer for up to 20 minutes. So, mixing around half a bag of powder with five and a half cups of water at intervals will be sufficient for covering up to two sidewalk slabs or a surface of about 17 square feet. All you have to do is pour it on the sidewalk or walkway.
4. Troweling Out The Resurfacer
Last but not least, spread the resurfacer evenly until it’s around ⅛ to ¼ inches in thickness. And if you want to achieve a slip-resistant finish, wait for about 5 minutes, after which sweep a nylon-bristle broom across the resurfaced concrete, keeping it 90-degree to the foot traffic.
Once that’s done, wait for about 20 minutes and then remove the weatherstripping. Within 6 hours, you can begin walking on it. Just remember to keep the surface uncovered while drying; only cover it if there are chances of rain.
Can Your Surface Be Resurfaced?
Concrete resurfacing is a technique that works best to cover surfaces with minor damage. The small cracks on the driveway or sidewalk can be covered by the polymer prime coat and base coats of the resurfacing material you wish to use.


However, if your floors and surfaces are extremely damaged with large holes and cracks, resurfacing wouldn’t be the best solution. This is because pouring concrete over large cracks will not ensure a permanent fix. They will eventually show up through your newly resurfaced sidewalk, and you’ll have to deal with the problem all over again.
It’s Time To Resurface Your Concrete
Hiring a professional for the resurfacing project will help you get the job done within no time. Plus, you’ll get the best results, which will last you up to ten years or even more.
But it’s better to go the DIY route, especially if you wish to save money. After all, resurfacing concrete is easy, provided you have the right tools at hand and know how to go about the process.
That said, we are positive that the detailed instructions provided in our step-by-step guide will help you through it. Just make sure you clean the area before getting started. With proper maintenance, your newly resurfaced driveway, walkway, or sidewalk will last for the years to come.
We’ll be back soon with yet another useful guide. Till then, leave us a comment down below to let us know which topic you’d like us to cover next.
Take care!
Published Date : April, 23 2021


